When most people think of a Virtual Private Network (VPN), they picture the application that they download onto their computer. However, the app is just there to make the VPN easy to use – you don’t actually need it at all. Instead, you can quickly set up a connection to your chosen VPN provider from within the Windows 10 operating system.
Many commercial VPN providers only include the OpenVPN protocol in their user-friendly applications. However, there are many other VPN protocols to choose from. Although your chosen VPN provider might not include an implementation of other VPN protocols in its app, those alternative systems probably are available to you if you set them up yourself.
| # | Provider | Rating | Price | Link |
|---|---|---|---|---|
| 1 |  | 35% Off | $8.32PER MONTH | Visit SiteRead Review |
| 2 | 46% Off | $6.49PER MONTH | Visit SiteRead Review | |
| 3 |  | 52% Off | $5.75PER MONTH | Visit SiteRead Review |
| 4 |  | 50% Discount | $6.67PER MONTH | Visit SiteRead Review |
| 5 |  | 49% Discount | $4.92PER MONTH | Visit SiteRead Review |
Although you won’t be using an app to access the VPN, you will need an account with a VPN server. All of the VPN services that include an app can also be accessed directly from your network connections pop-up, as long as they offer Point-to-Point Tunneling Protocol (PPTP), Secure Socket Tunneling Protocol (SSTP), Layer 2 Tunneling Protocol (L2TP) with Internet Protocol Security (IPSec) or Internet Key Exchange version 2 (IKEv2) VPN protocols.
What You Will Need to Set up a VPN on Windows 10
You need to have an internet service in order to access the VPN and you will need to turn on that connection before the VPN will work. You will then be able to switch to the VPN service by clicking on its name in the Network Connections screen of your computer.
You will need your username and password for the VPN service, as well as details of which VPN protocol to connect through and the name or address of the server. If you can’t find this information in the knowledge base on your VPN’s website, ask the support desk.
Access the VPN Set up Screen
You get to the set up screen for Virtual Private Networks through the Network Connections pop-up.
Step 1
Look to the bottom left of your desktop, down where the time is shown. This area is called the system tray.

Step 2
Click on the WiFi symbol. This will open the network connections pop-up.
Step 3
Click on “Network settings” at the bottom of the pop-up.

This will open the network settings system.
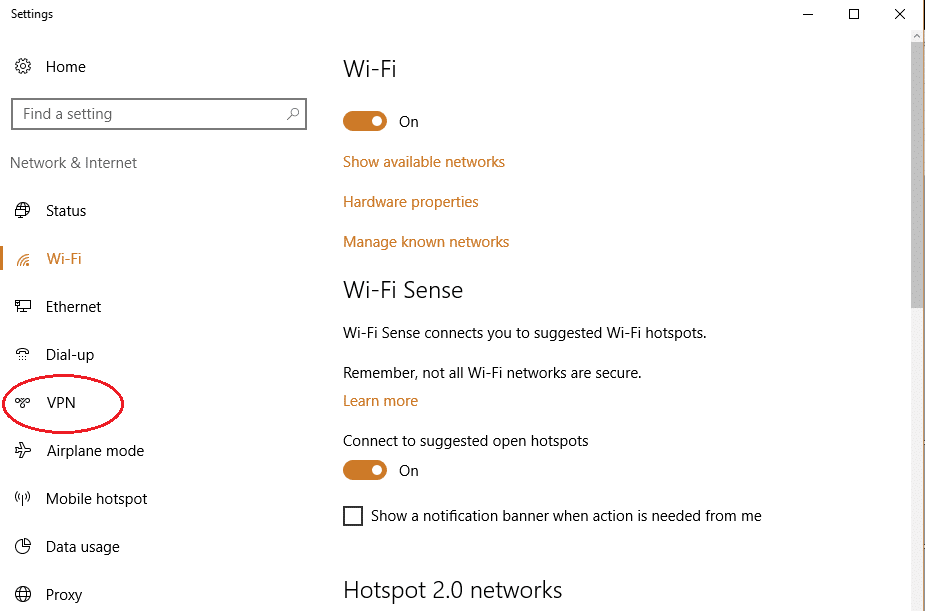
Step 4
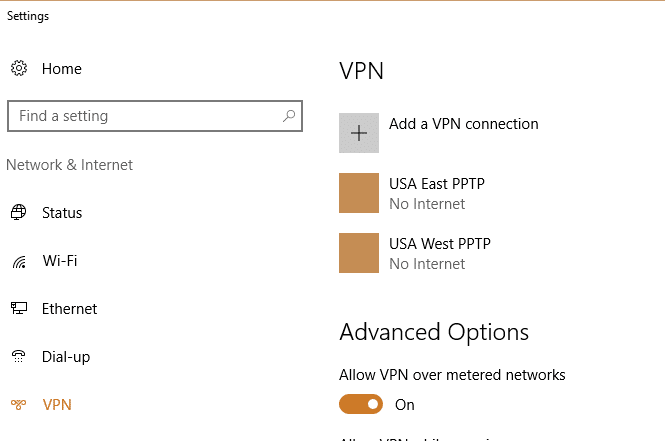
Click on VPN in the left-hand menu of the network settings window.
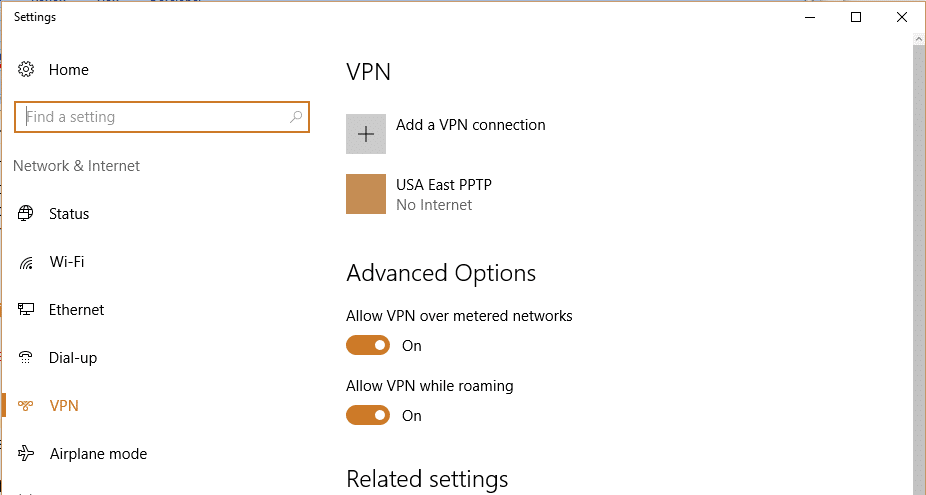
Create a VPN Connection
Now you are in the VPN section of the network settings system, you can add a new VPN.
Step 1
Click on “Add a VPN connection.” This will open up a new screen.
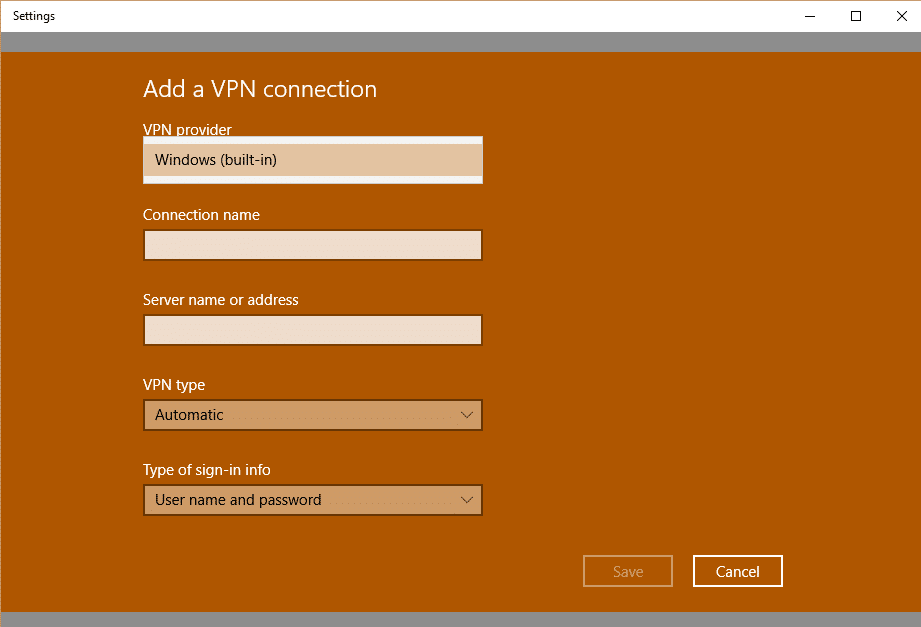
Step 2
When you click in the VPN provider field, the system will automatically fill in Windows (built-in). Don’t worry about this, because you don’t need the actual name of your VPN service provider in this field. The default value is fine.
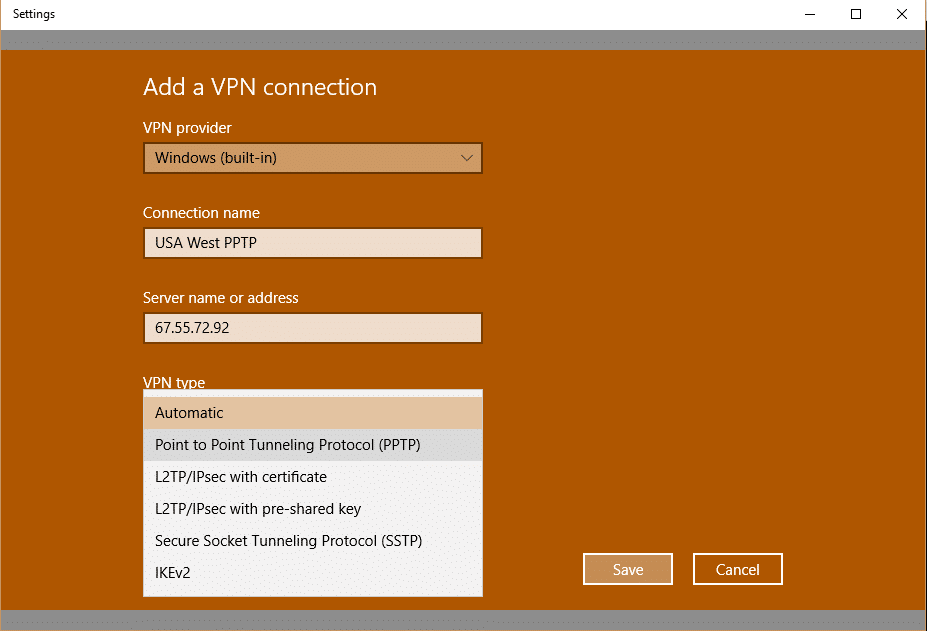
Step 3
Make up your own connection name. This doesn’t have to be one specified by the VPN service, but you should make it something meaningful that explains the attributes of the connection. For example, this will connect to a server in a specific location, so you could put that location name on it. Also, add the VPN protocol. If you have subscriptions with several providers, put the VPN service name in here too, so you can tell the difference between each connection when you have a long list of them set up.
Step 4
Enter the Internet Protocol (IP) address or server name in the next field.
Step 5
Select the VPN protocol that your VPN’s helpdesk told you to specify from the drop-down list in the next field.
Step 6
Select “User name and password” as the sign-in type and enter your credentials for the VPN service in the next two fields. Check the “Remember my sign-in info” box so you don’t have to enter your log-in details every time you turn the VPN on.
Step 7
Click on the Save button. This will take you back to the network settings and your new connection will appear there. As you create more VPN connections, the list shown in this screen will get longer. You can close down the network settings screen by clicking on the “X” in the top right corner of the window.
Using the VPN Connection
You access your VPN connections via the network connections pop-up.
Step 1
Click on the WiFi symbol in the system tray to get the network connections pop-up. Your VPN connections will appear at the top of the list, before your available connections. If you are not connected to the internet, these VPNs will have an “X” sign over them.
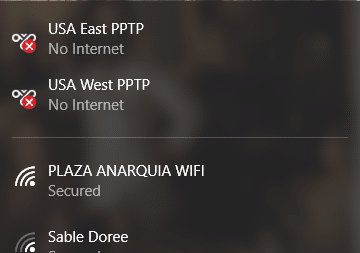
Step 2
Select your internet service and turn on the connection. This will remove the “X” from the VPN connections.
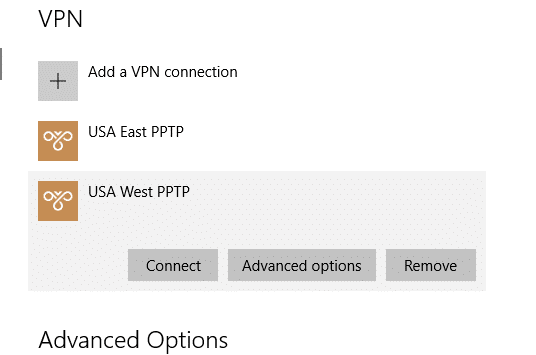
Step 3
Click on the VPN that you want to use. This will open the VPN settings page. Select your chosen VPN and click on the Connect button.
Watch the WiFi symbol in the system tray. When the VPN is connected, you will see a box with a vertical line attaching to it.
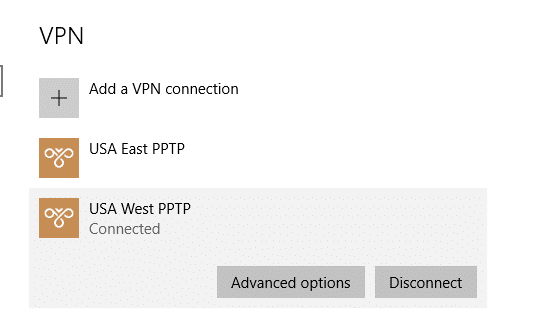
 Step 4
You can close the VPN by clicking on the Disconnect button that appears once a connection has been made.
Windows 10 VPN Considerations
If your work or college provides your VPN service, you probably won’t be given an app to install. This means that setting up the VPN manually is your only option. Many businesses and institutions won’t allow you onto the private network unless you install a VPN, so even if you have a good internet connection, failure to install the VPN properly will deny you the opportunity of working from home.
Enforcing Privacy on Windows 10
Privacy on the internet is becoming essential. As the technologies that contribute to networking become more accessible, businesses and governments have grown adept at snooping on the general public’s activities. Such “monitoring” is usually excused as a way to ensure efficient provision of services or the protection of the sensitivity or security of others.
VPN Strategy
You may have access to a range of different VPN protocols, including PPTP, SSTP, and L2TP. Set up a separate connection for each, even if you are pretty sure that you know which of those protocols you will probably use the most. This strategy gives you options to switch at a moment’s notice, without having to search around for the connection instructions again.
Sometimes, switching between VPN protocols can overcome temporary service problems. Your VPN’s maintenance staff might be installing the software that runs the service of your favorite protocol, rendering it periodically inaccessible. At such times, it is easy to switch to an alternative system if you already have all of your options set up. You can create a long list of different VPN connections and simply switch between them by clicking on another VPN.
If you subscribe to a VPN service, it will provide you with a list of servers. Each server can change your identity on the internet, so it is worth setting up a VPN connection for each of those locations. Thus, for every combination of VPN protocol and available server, you can have a separate manual VPN connection definition.
It is easier to set up all of your potential connection options in one session. This is because you will find it easy to perform the task once you have set up your first connection. If you wait until you come across a missing combination that you want to access quickly, you will have to relearn the process of setting up the connection, thanks to the passage of time.
Windows 10 VPN Conclusion
Don’t take your connection for granted. VPN servers sometimes experience brief surges and outages that can cause them to drop connections.
You need to have a regular connection active before you select the VPN line. Thus when a VPN service drops, you will still have access to the internet, and you might not notice that the VPN is no longer engaged.
Pay attention to the network symbol in the system tray because if it changes from the box back to the WiFi symbol, then your connection isn’t secure.
With the instructions in this guide, and the standard menus and screens of Windows 10, setting up a VPN manually is a pretty easy task. Having control of your own VPN connections will give you a greater sense of freedom. It can also help you to realize that you can achieve any technical task on your Windows 10 computer, provided that you have the proper instructions!